Assets
URL: app.vidvibe.io/assets -- this is your default landing page after login.
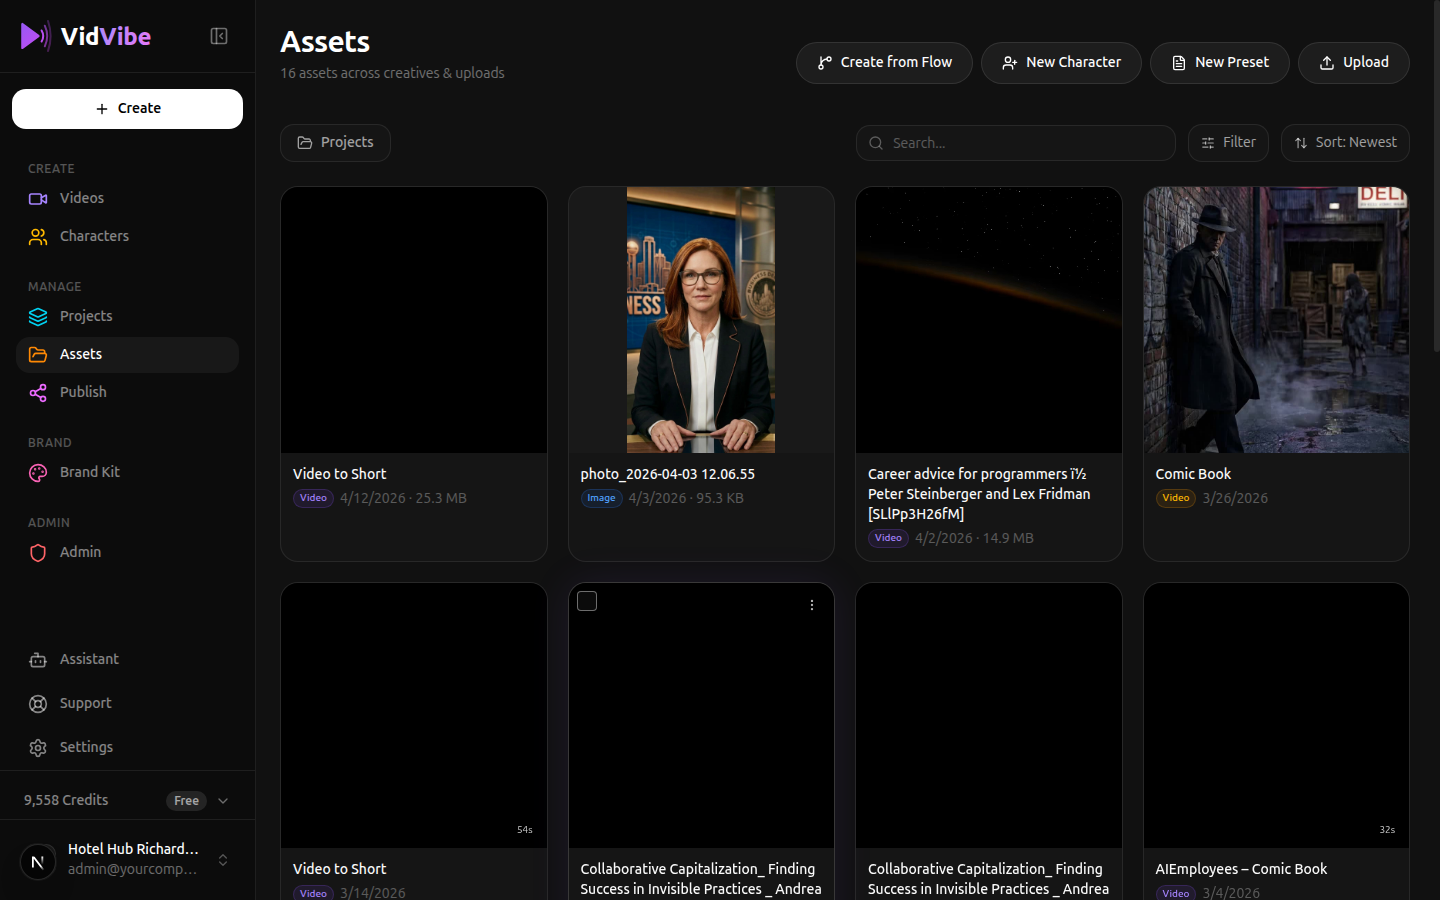
The Assets page is your content library -- everything you have created and uploaded lives here. Videos, images, audio files, presets, and finished projects are all in one place.
Toolbar
At the top of the page you will find action buttons:
| Button | What It Does |
|---|---|
| Create from Flow | Start a new video project using one of your flows |
| New Character | Create a new AI spokesperson character |
| New Preset | Create a prompt or model preset |
| Upload | Upload files from your computer (videos, images, or audio) |
| Projects | Toggle project group view |
You can also Search by name, Filter by type, Sort by date, and scope the grid to a specific project. The controls sit in the row under the toolbar (Projects on the left; Search + Filter + Sort on the right).
Filter by asset type
Click Filter on the right side of the toolbar row to pick a single asset type. The grid updates immediately.
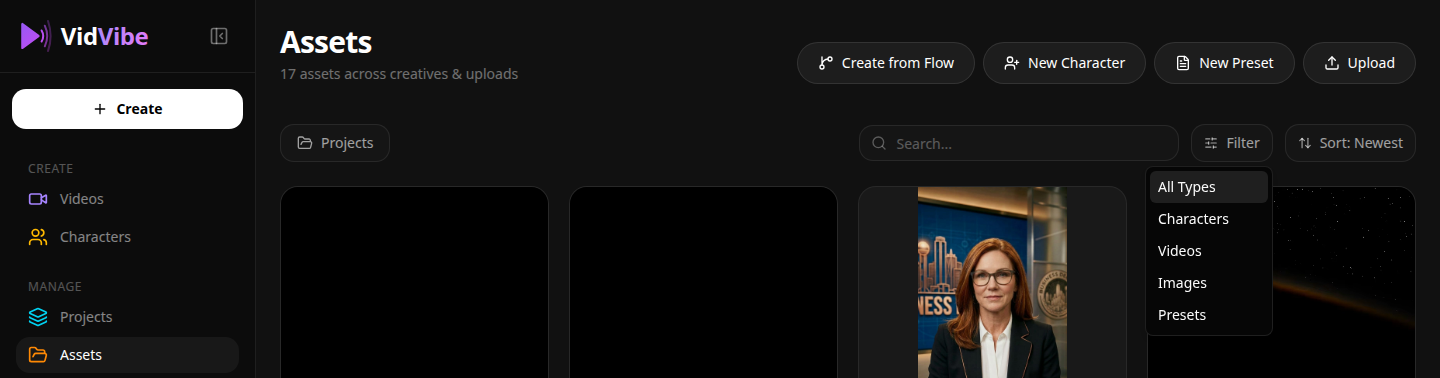
Available options:
- All Types (default) -- everything mixed together.
- Characters -- AI spokesperson avatars you've created or uploaded.
- Videos -- flow outputs and video uploads.
- Images -- generated images and image uploads.
- Presets -- your prompt presets (see Prompt Presets below).
The filter is single-select -- switching to a new type replaces the current filter; pick All Types to clear it.
Sort order
Click Sort to flip the creative order on the page between the two options:

- Newest (default) -- most recently created first.
- Oldest -- earliest first.
Filter by project
Click the Projects pill on the left to scope the grid to a single project.
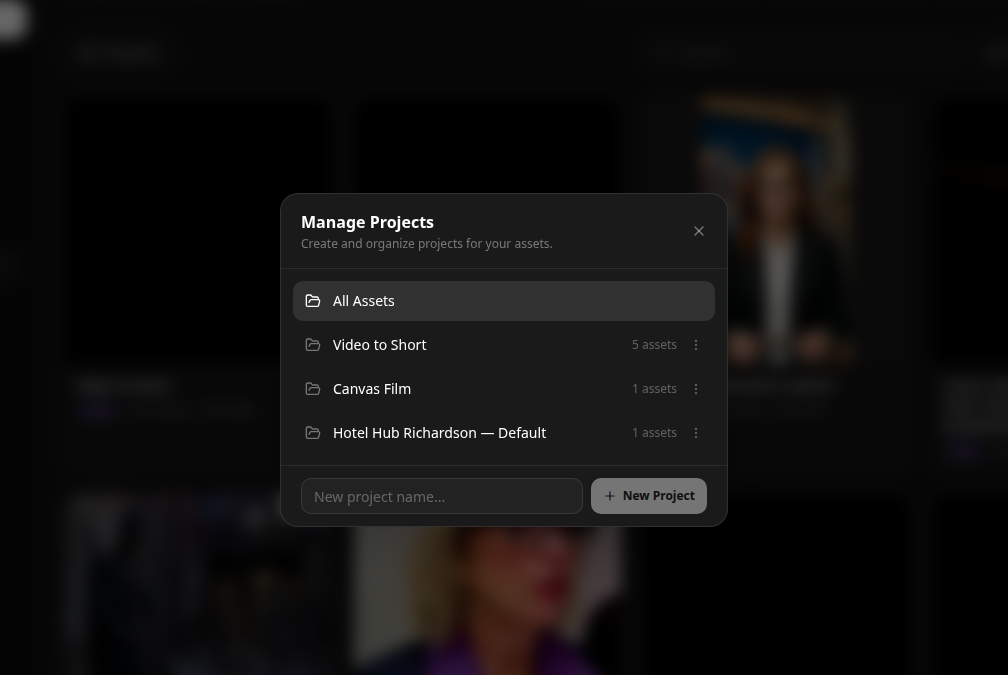
The Manage Projects dialog lists every project you've created plus an All Assets entry at the top. Pick any project to filter the grid to just its assets, or All Assets to clear the project filter. The same dialog is where you create new projects inline (type a name and hit New Project) and rename or delete existing ones from their three-dot menu.
When a project is active, the Projects pill shows its name instead of "Projects", and prompt presets are hidden from the grid (they live outside the per-project view).
Search
The search box matches by asset name. It's debounced, so results update a moment after you stop typing -- no need to press Enter.
Filter, Sort, Project scope, and Search stack: you can, for example, pick Characters in the filter, scope to a specific project, and search for a name fragment, all at the same time.
Creating a Video from a Flow
You don't have to leave the Assets page to kick off a new video -- the Create from Flow button in the toolbar opens the same flow picker that lives on the Videos page, so you can start a flow run without navigating anywhere.
-
Click Create from Flow in the toolbar.
-
The Create New Asset picker opens. Browse or filter the flow catalog (use the Category list on the left or type into the search box at the top) and click Use Flow on the card you want.
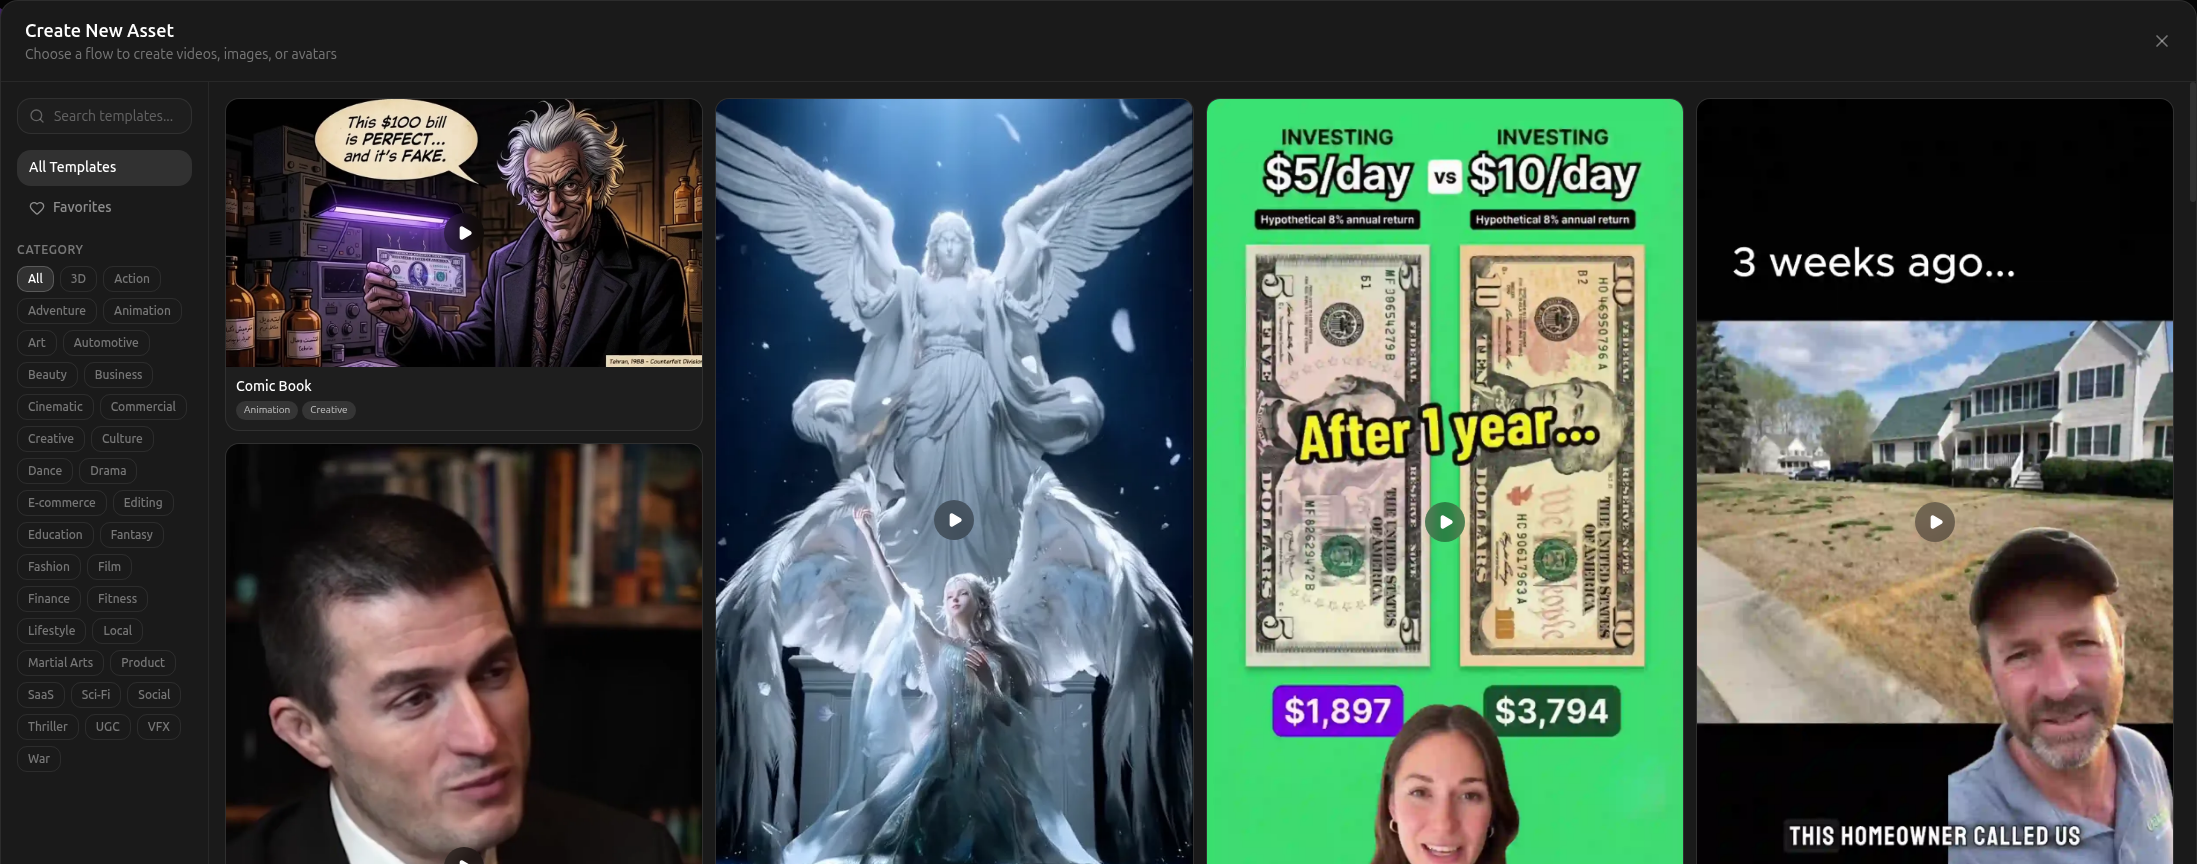
-
The flow's launch dialog opens next -- fill in its inputs and run it the same way as from the Videos page. See Running a Flow for the three run modes.
When the flow finishes, the resulting video lands right back in your Assets grid.
Flows that are marked Coming Soon on their card don't have a ready pipeline yet -- clicking them opens the Notify Me dialog instead. See Flows that are not ready yet on the Videos page for more.
Uploading Files
To add your own media to VidVibe:
- Click the Upload button in the top-right corner of the Assets page.
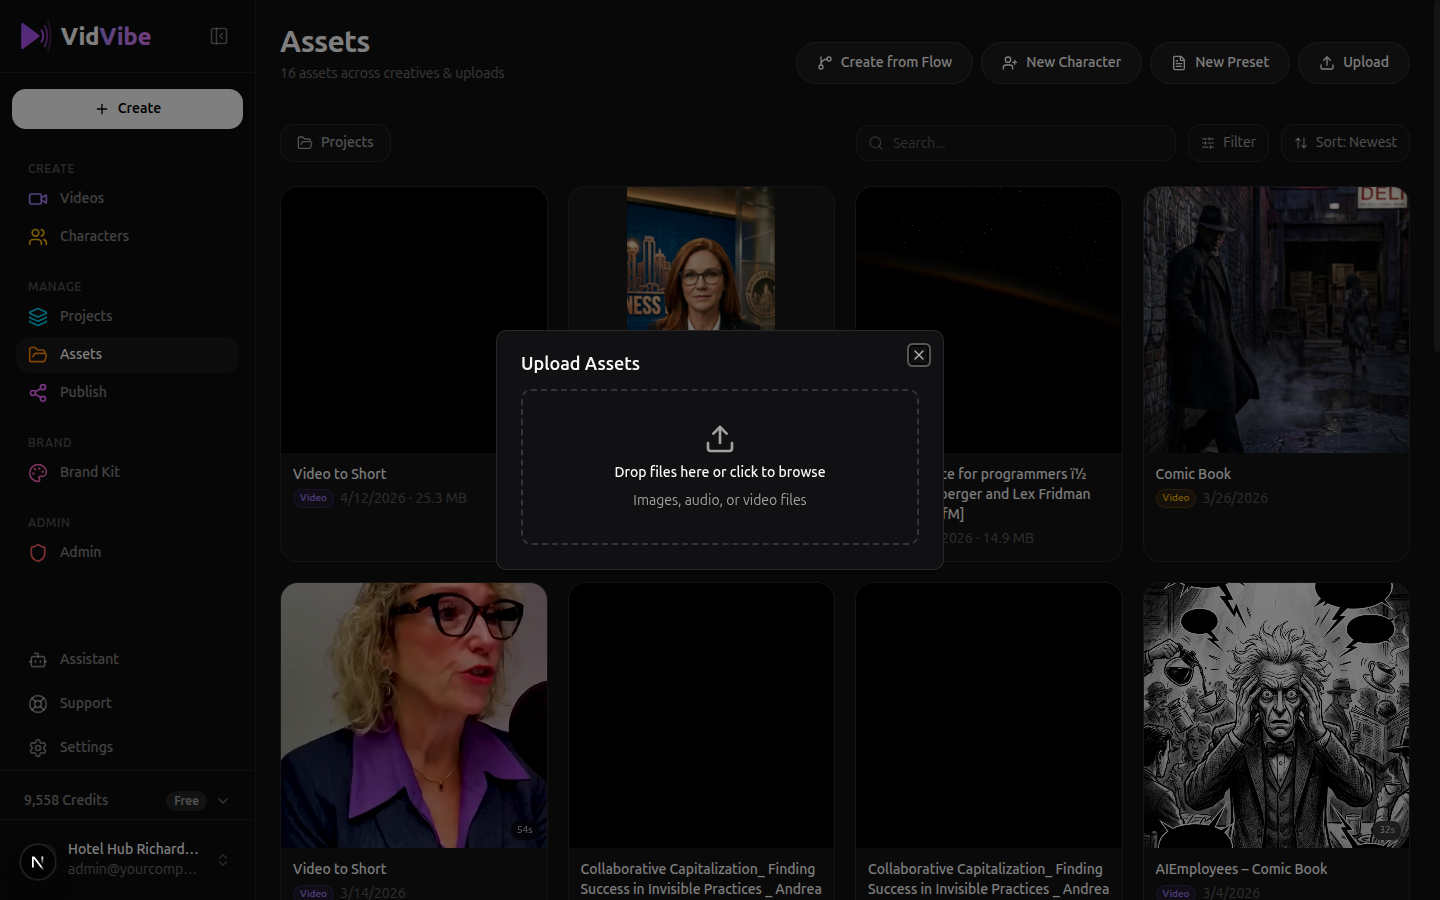
- The Upload Assets dialog appears. You have two options:
- Drag and drop files directly into the dashed area.
- Click the dashed area to open your file browser and select files.
- Accepted file types: images, audio, and video files.
- Once selected, your files will upload and appear in your Assets grid.
You can upload multiple files at once by selecting several files in the file browser or dragging a batch into the upload area.
Asset Cards
Each asset in the grid shows:
- A thumbnail preview (video frame, image, or audio waveform)
- The file name
- A type badge (Video, Image, etc.)
- Upload date and file size
Click any asset card to preview it, or use the checkbox in the corner to select multiple assets for bulk actions.
Organizing with Projects
Click the Projects button to group your assets into folders. Each project group shows the number of creatives and uploads it contains. This is useful when working on multiple brands or campaigns.
Prompt Presets
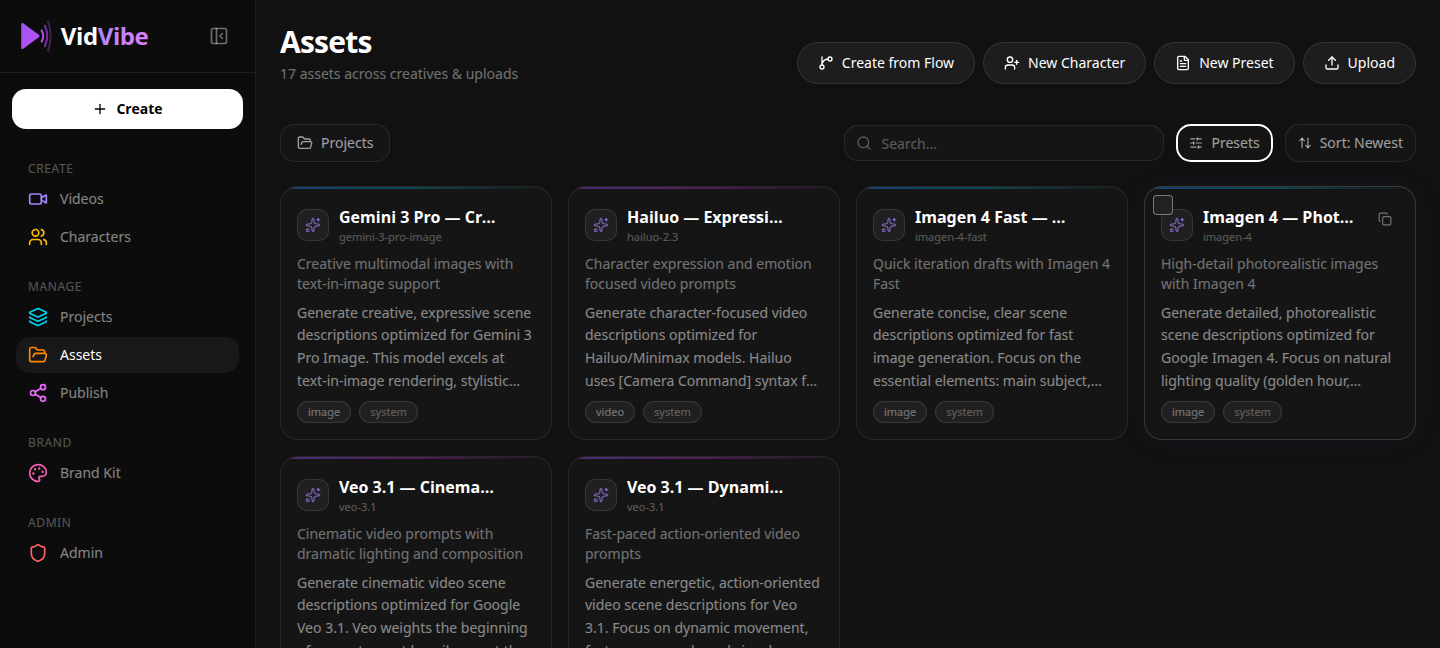
A prompt preset is a reusable block of instructions that you can plug into image and video generation. Instead of retyping the same style guidance ("warm cinematic lighting, shallow depth of field, 35mm anamorphic lens...") into every prompt, you save it once as a preset and pick it from a dropdown whenever you need it. Presets live alongside your other assets and apply to a specific generation model (Imagen, Veo, Hailuo, Gemini Image, etc.).
VidVibe also ships system presets that you can use immediately -- they appear in the same grid but cannot be edited or deleted.
Creating a preset
-
On the Assets page, click + New Preset in the top-right toolbar.
-
The Create Preset dialog opens.
-
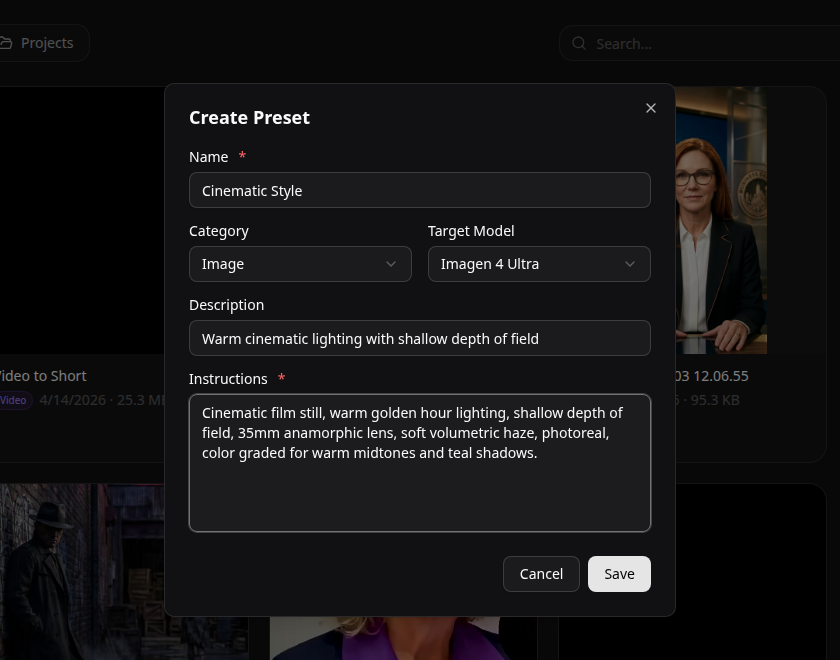
Fill in the fields:
- Name (required) -- short label that shows up in pickers, e.g. Cinematic Style.
- Category -- Image or Video. This controls which model list you can target and where the preset is offered later.
- Target Model -- the specific model the preset is tuned for (Imagen 4 Ultra, Veo 3.1 Pro, Hailuo 2.3, etc.). The dropdown only unlocks once you pick a category.
- Description (optional) -- one-line summary shown on the preset card.
- Instructions (required) -- the actual prompt text that gets injected when the preset is selected. This is the reusable part.
-
Click Save. The preset appears as a card in the Presets section of your Assets page.
Write Instructions as a self-contained styling block, not as a full prompt -- VidVibe combines your preset's instructions with the per-shot prompt at generation time. Think "the look", not "the scene".
Using a preset
Presets are surfaced anywhere VidVibe generates an image or video for that target model:
- In the canvas editor, drop an Image Preset or Video Preset node onto the board. The node shows a Preset dropdown listing every preset that matches its category. Pick one and the node displays the full instructions and feeds them into downstream Image / Prompt / Video nodes.
- When creating a character or generating an image, the prompt field shows a From Preset picker that pulls the same list and prefills the prompt with your preset's instructions.
Switching presets is non-destructive -- you can swap presets on a node at any time without losing the rest of the flow.
Editing or deleting a preset
Hover over a preset card and click the ⋯ button:
- Edit -- reopens the same Create Preset dialog with all fields prefilled. Save to overwrite.
- Delete -- removes the preset permanently. Flows that referenced it will fall back to "no preset" on that node.
System presets don't expose the menu and can't be modified.