Flows
URL: app.vidvibe.io/flows
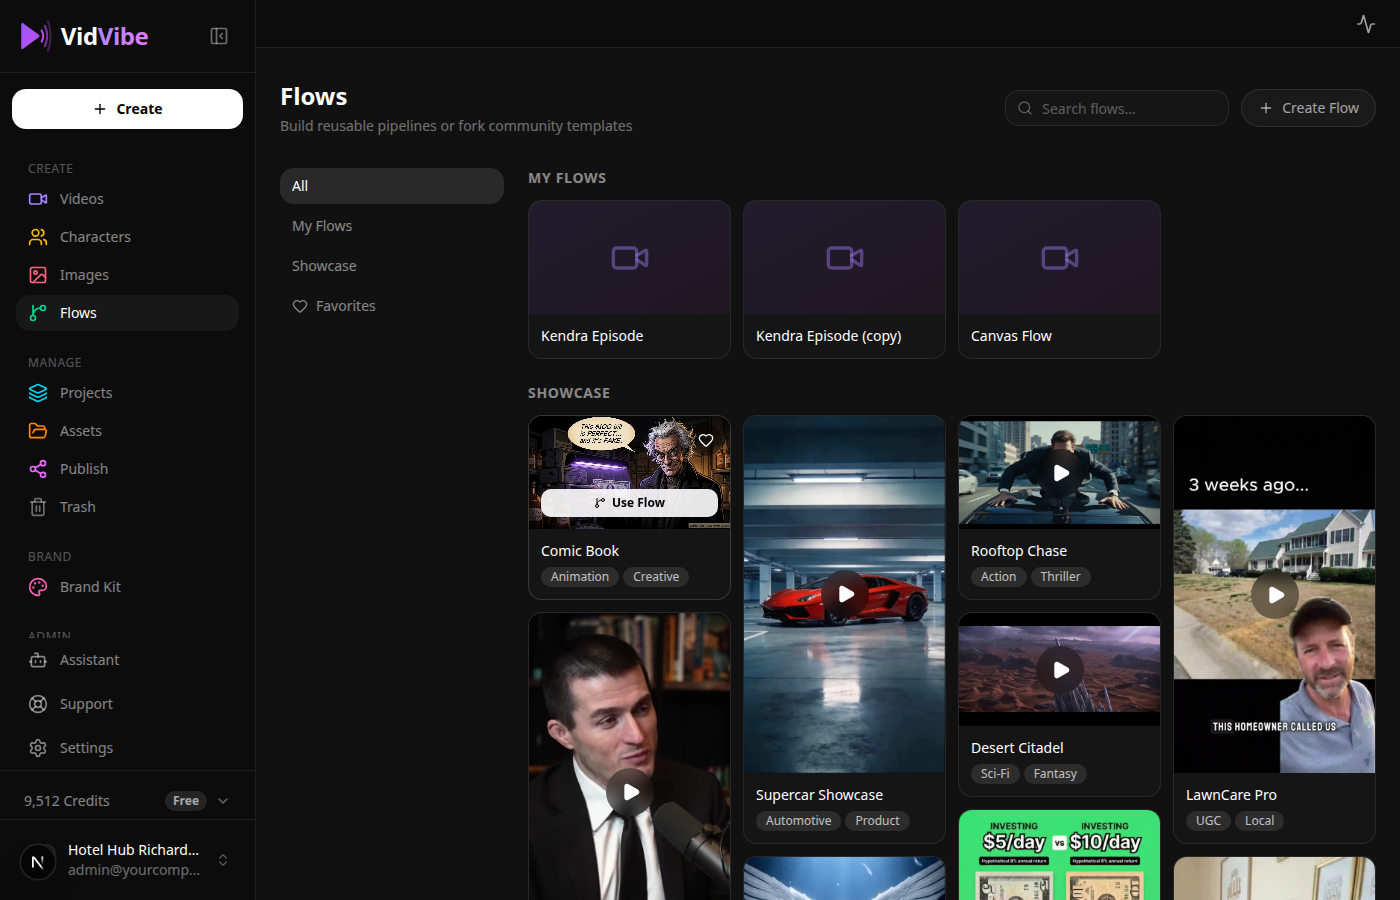
A flow is a reusable creation pipeline — a graph of nodes that generates a video, image, or character end-to-end. The Flows page is where you browse community templates, fork them, build your own, and run any of them.
Looking for the library of finished videos? That moved to Videos. Flows is where you create the recipes.
Page Layout
Sidebar tabs filter the grid:
| Tab | What it shows |
|---|---|
| All | Your flows + the showcase combined |
| My Flows | Flows you created from scratch, forked from the showcase, or built via Analyze a Video |
| Showcase | Curated example flows you can fork or run as-is |
| Favorites | Flows you've hearted |
Top-right of the page:
- Search flows... — filter by name or tag.
- + Create Flow — opens the Create Flow dialog (Start blank / Fork existing / Analyze a video).
My Flows
Each card shows a flow's name, description, and a ⋯ (three-dot) menu for managing it.
Editing a My Flows entry
Click a card to open the flow in the canvas editor — /flows/build/<flowId>. From there you tweak node settings, rewire inputs, add or remove steps, and execute.
Renaming or deleting a flow
The kebab menu next to each My Flows card has:
- Rename — change the flow's display name. Updates everywhere the flow is referenced.
- Delete — permanently remove the flow template. Saved videos that came from past runs are kept.
System / showcase flows do not expose this menu — only your own flows can be renamed or deleted.
Showcase
The Showcase grid shows example flows in a masonry layout — hover to preview the output, click to open in a lightbox. Each showcase tile usually has a Use Flow button.
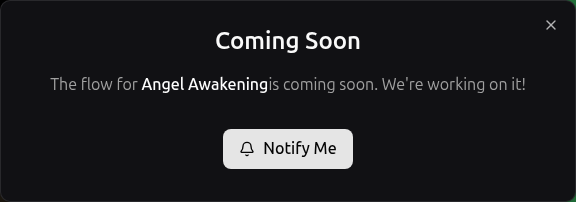
Flows that aren't ready yet
Some showcase tiles are previews of flows we're still building. Clicking Use Flow on those opens a Coming Soon dialog where you can hit Notify Me. We use those signals to prioritize which flows ship next.
Running a Flow
Where to launch from
Two surfaces let you launch:
- The Showcase or My Flows card — click Use Flow on the card.
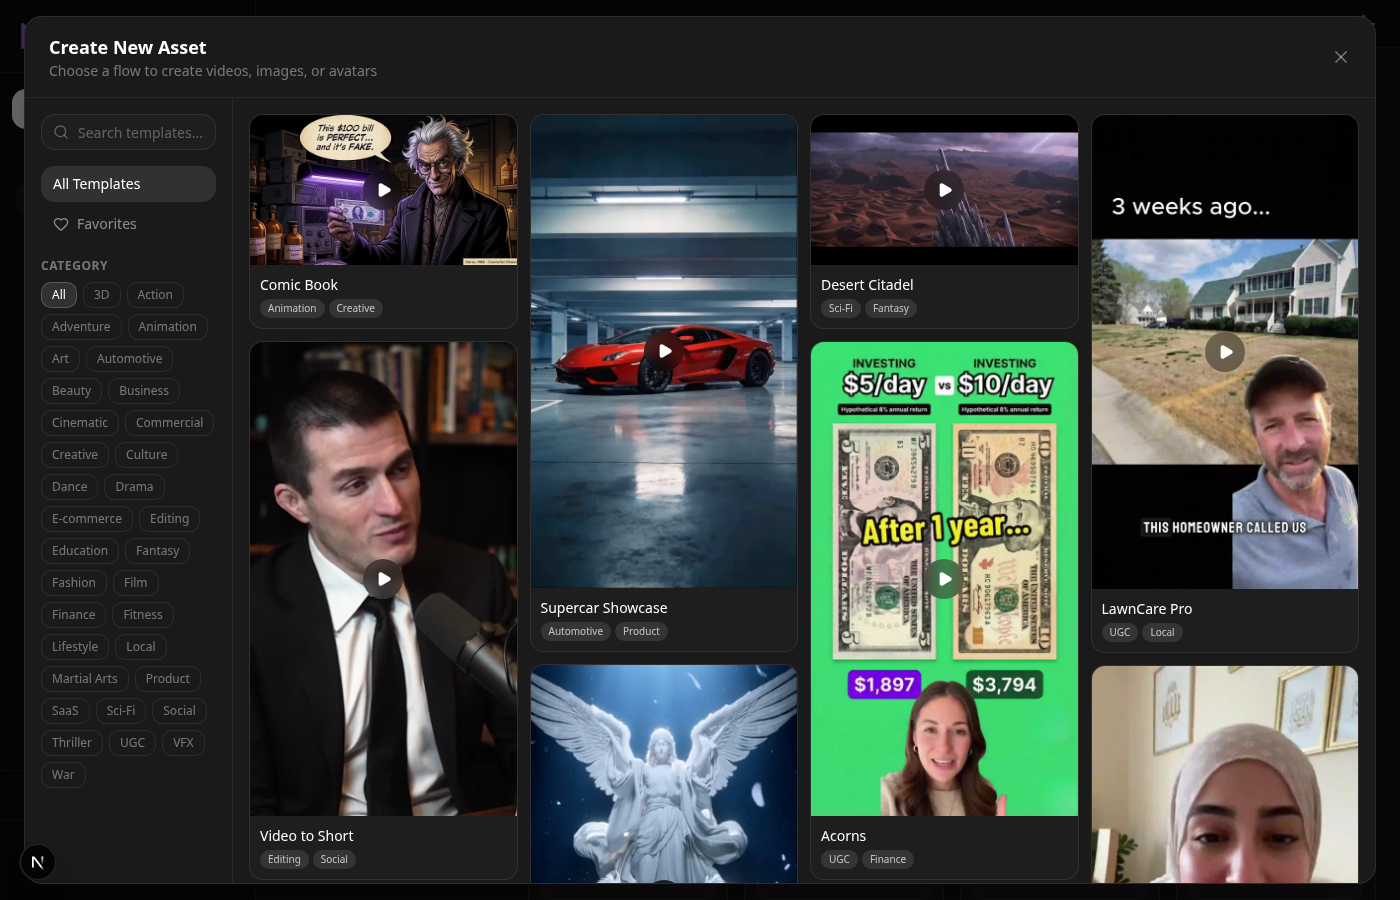
/videos→ "Create from Flow" — opens the full-screen flow picker (see screenshot below) which lets you search, filter by category, and run any flow without leaving the videos library.
Either path opens the launch dialog showing the flow's required inputs:
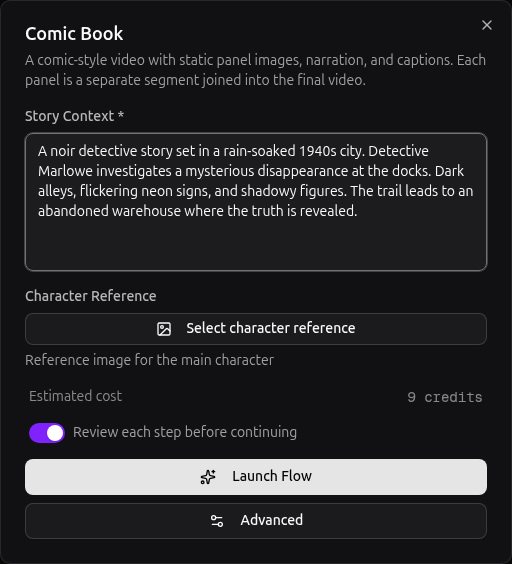
The three run modes
- With manual approval — leave the "Review each step before continuing" toggle ON and click Launch Flow. VidVibe pauses at each checkpoint and waits for you to approve, edit, or redo the intermediate result. Best when quality matters more than speed.
- Without manual approval (YOLO mode) — toggle the review switch OFF and click Launch Flow. VidVibe runs the entire pipeline end-to-end without stopping. Fastest path to a finished video.
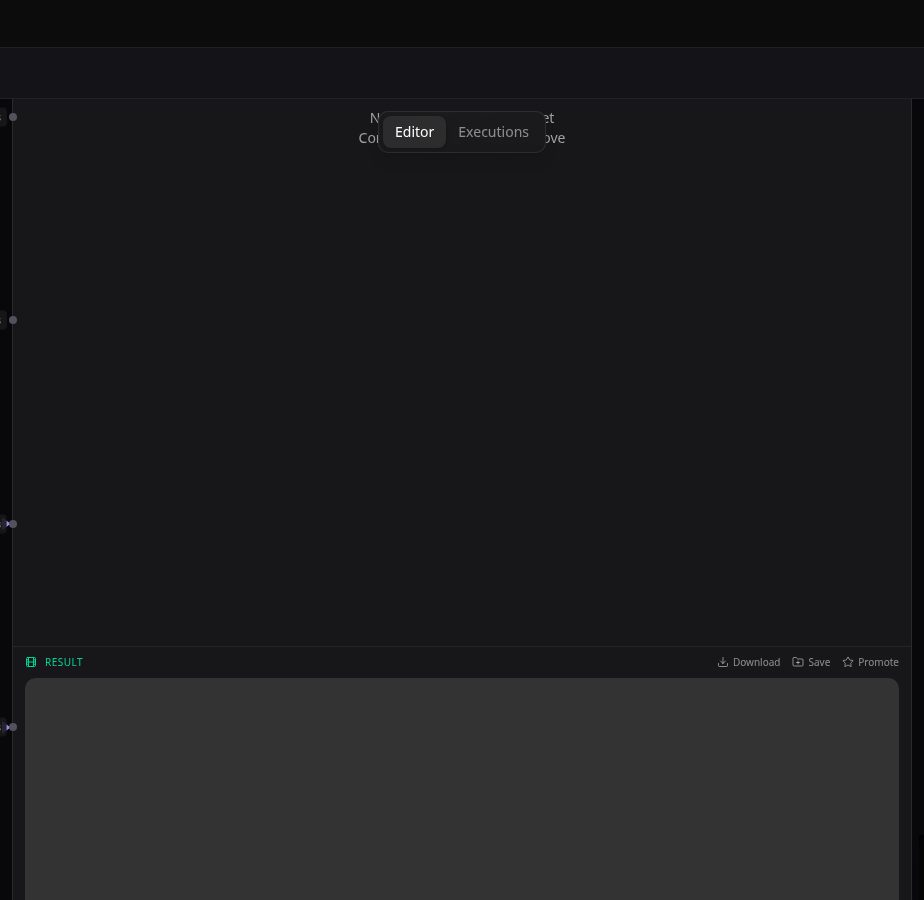
- Advanced (Canvas) — click the Advanced button instead of Launch Flow. Opens the full node editor where you can inspect every node, tweak settings, re-run individual nodes, and wire in custom steps. Click Execute flow at the bottom to run the whole pipeline, or Execute on any node to run just that step.
In all three modes, when the run produces a video the result auto-saves into your Videos library so you don't have to manage that step yourself.
Building a Custom Flow
Click + Create Flow to open the create dialog. You get three ways to start:
- Fork an existing flow — pick any tile (e.g., Kendra Episode, Comic Book) and VidVibe copies it into your My Flows so you can rename and customize.
- Start from scratch — opens the canvas with an empty graph. Drag nodes from the palette to design your own pipeline.
- Analyze a video — provide a reference video and VidVibe reverse-engineers a flow that reproduces its structure.
Composing flows from reusable nodes
Every shipped flow — the system templates and your own — is a composition of the same shared node types. Adding a new flow shape rarely requires new node code; you wire up existing nodes and a Joiner at the end.
Node types
The canvas has 21+ node types, grouped into Generation / Own Assets / Processing / Pipeline / Flow categories. Open the Add node panel from the right toolbar to drop any of them onto the canvas.
Generation
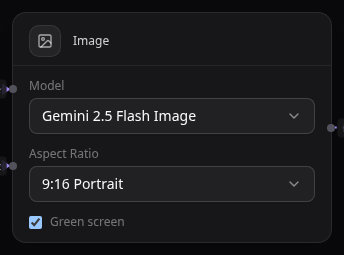
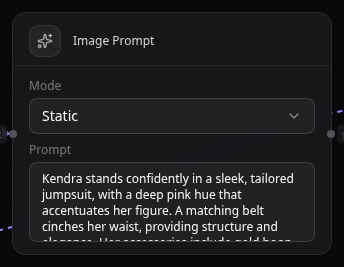
Image — Generate a still from a text prompt (and optional reference image). Settings: model, aspect ratio, green-screen toggle.
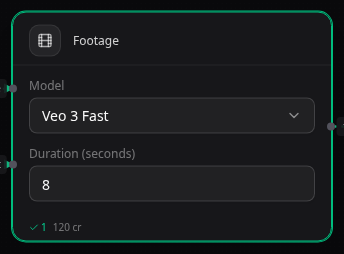
Footage — Generate a video clip — text-to-video or image-to-video, depending on model. Reads model / aspect / duration from upstream Input nodes, falling back to the node's own settings. Settings: model (Veo 3.1 / Veo 2 / Hailuo 2.3 / Wan 2.2), aspect ratio, duration.
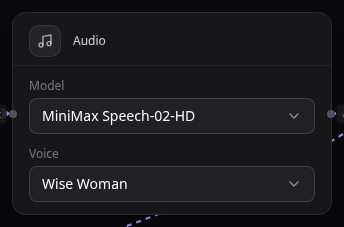
Audio — Text-to-speech generation. Settings: model, voice.
Lip Sync — Drive a face's mouth from a separate audio track. Settings: model (A2E / Kling).

Own Assets
Asset — Upload your own image, video, or audio, or pick something already in your library. Used when a flow needs a specific source file rather than a generated one.

Processing
Captions — Burn subtitles onto a video. Style and position are configured per node.

Last Frame — Extract the last frame of an upstream video as an image. Useful for chaining clips so segment N+1 starts where N ended.

Segment — Bundle image + footage + audio + captions into a single scene that the Joiner can pick up.

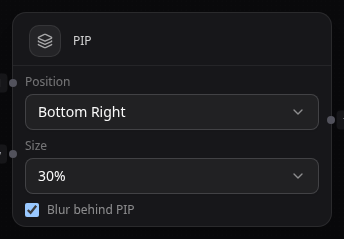
PIP — Picture-in-picture overlay. Layers a smaller video on top of a base, with optional blur behind it. Settings: position, size, blur.
Chroma Key — Remove a green-screen background from a video.

Extract Video — Strip the audio track and emit the video-only stream.

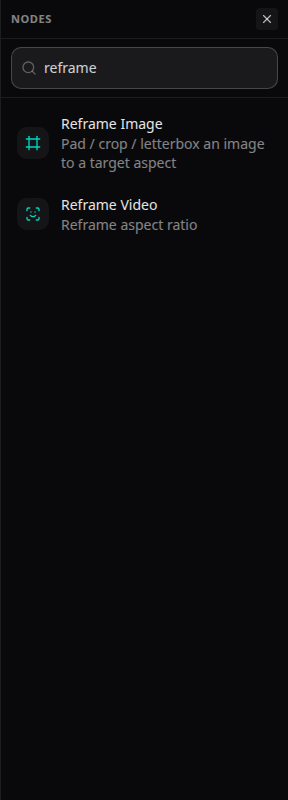
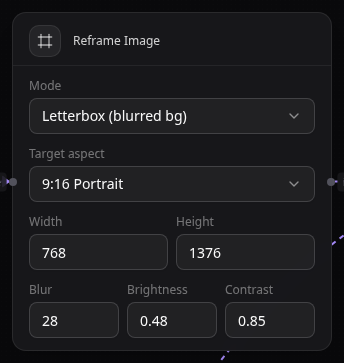
Reframe Image — Pad, crop, or letterbox a still image to a target aspect / canvas size. Useful when an upstream image (flyer, logo, generated still) doesn't match the aspect of the next step — e.g., a square flyer that needs to feed a 9:16 vertical video. Settings: mode (Letterbox blurred bg, Letterbox solid, Crop, Fit), target aspect, width × height, plus blur/brightness/contrast for the blurred bg mode.
Pipeline
Trim Video — Clip a video between two timestamps. Drag the handles in the timeline preview.

Trim Audio — Same as Trim Video but for an audio track.

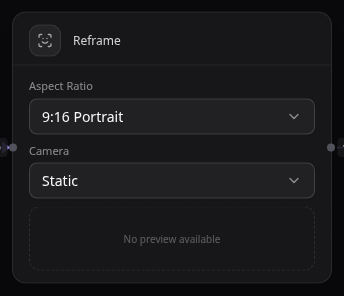
Reframe Video — Re-aspect an existing video clip (e.g., 16:9 horizontal → 9:16 vertical short). Settings: target aspect (9:16 or 16:9), camera mode (Static keeps the centre crop; Dynamic enables ML-driven subject tracking that follows the most important face/motion).
Extract Audio — Pull the audio track out of a video into a standalone audio stream.

Transcribe — Speech-to-text on a video or audio track. Output drives the Captions node.

Flow control
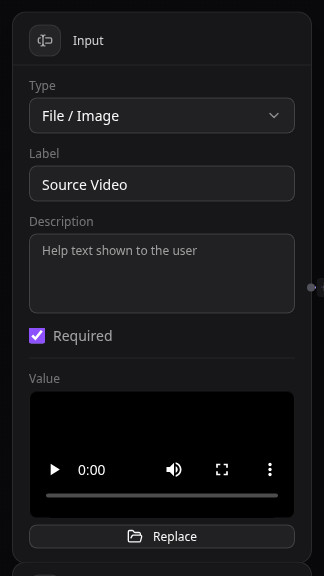
Input — Exposes a field the user fills in before running (text / file / number / time). Every value the flow reads from the user comes through one of these.
Joiner (editorOutput) — Stitches segments into the final video. Exactly one per video flow — every video pipeline ends here. The bottom half is a scene editor / download / save panel.
Prompt — LLM rewriter / template. Combines a static instruction with upstream context to produce a prompt for downstream Image, Footage, or Audio nodes.
Iterator — Run a sub-graph N times and hand the collection to the Joiner. Used when a flow produces a variable number of segments (e.g., one per scene in a script).

Note — Sticky note for annotating the canvas. Doesn't run; just documents.

Why two reframes?
The palette has both Reframe Image (under Processing) and Reframe Video (under Pipeline). They share a name root but operate on different media types, take different inputs, and have different settings — Reframe Image works on stills (and emits a still), Reframe Video works on clips and supports subject-tracking. Pick by what's flowing into the node.
The Joiner timeline
The bottom half of the Joiner is a scene editor with a layered timeline. Once a flow finishes (or you've dragged enough material into the Joiner), you can fine-tune the cut before saving the final video:
- Reorder segments — drag a segment block left or right.
- Trim a clip — hover the edge of a block; drag inward to trim.
- Stack on another track — drag a clip vertically onto a parallel row to layer it.
- Add audio or captions — drag from the left list onto the matching row.
- Mute or hide a track — eye / speaker / text icons toggle each row.
- Scrub and preview — click the time ruler to jump the playhead.
- Per-clip settings — right-click a block for PIP / volume / caption timing.
- Render — click Join to merge the timeline into a single video.
Edits auto-save to your project so you can come back later.
Tracking Flow Runs
Every launch creates a run at /flows/review/<runId>. Live status is also visible from the activity icon in the top-right of any page (popover with up to 20 latest runs) and at the dedicated Runs page.
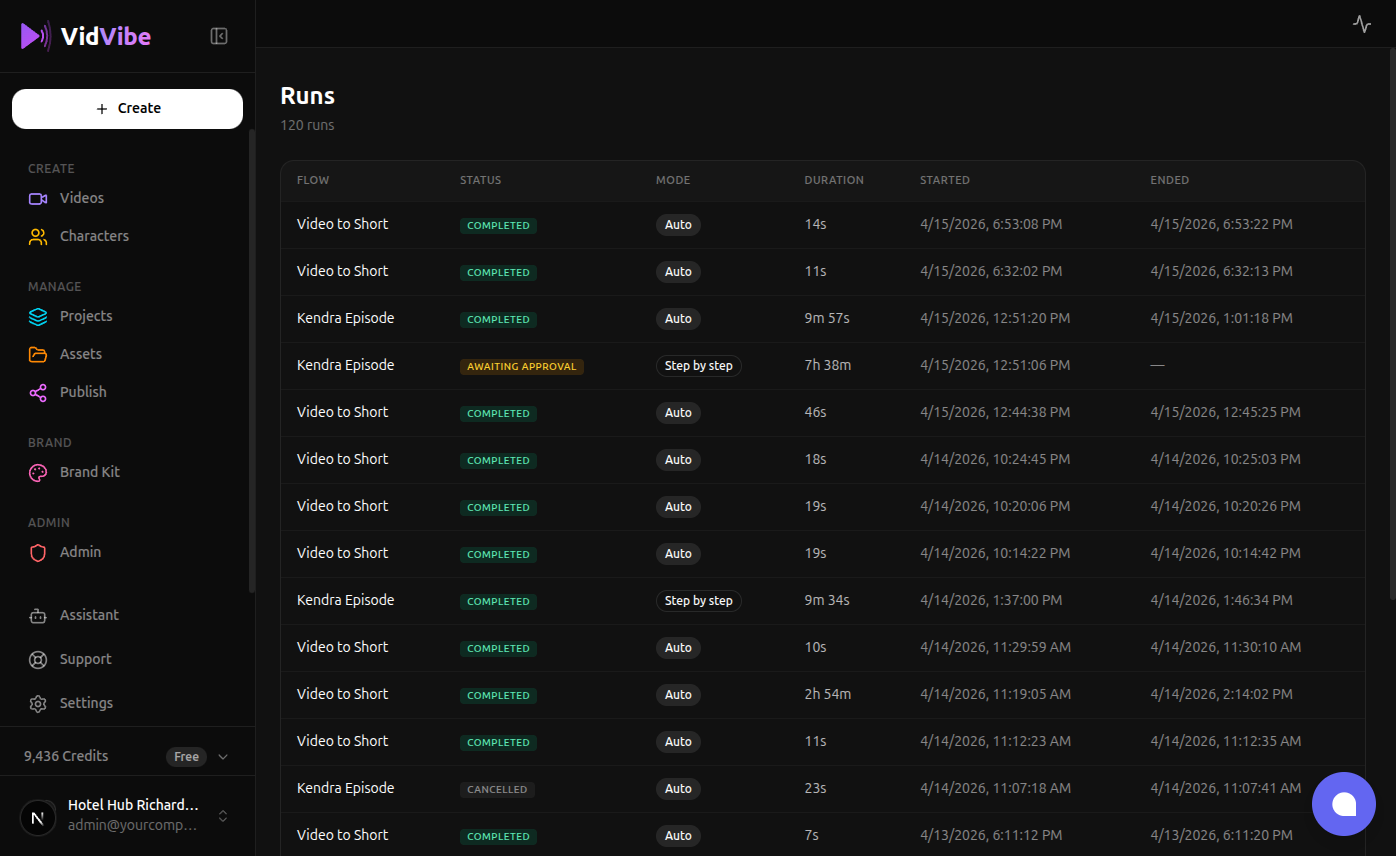
Each row is one execution. Status values:
| Status | Meaning |
|---|---|
pending | Queued, not yet picked up by a worker |
running | Actively executing a node |
awaiting approval | Step-by-step run paused on a node |
completed | Finished successfully — the result auto-saves to the right library |
error | A node failed and the run stopped |
cancelled | Stopped before finishing |
Opening a run
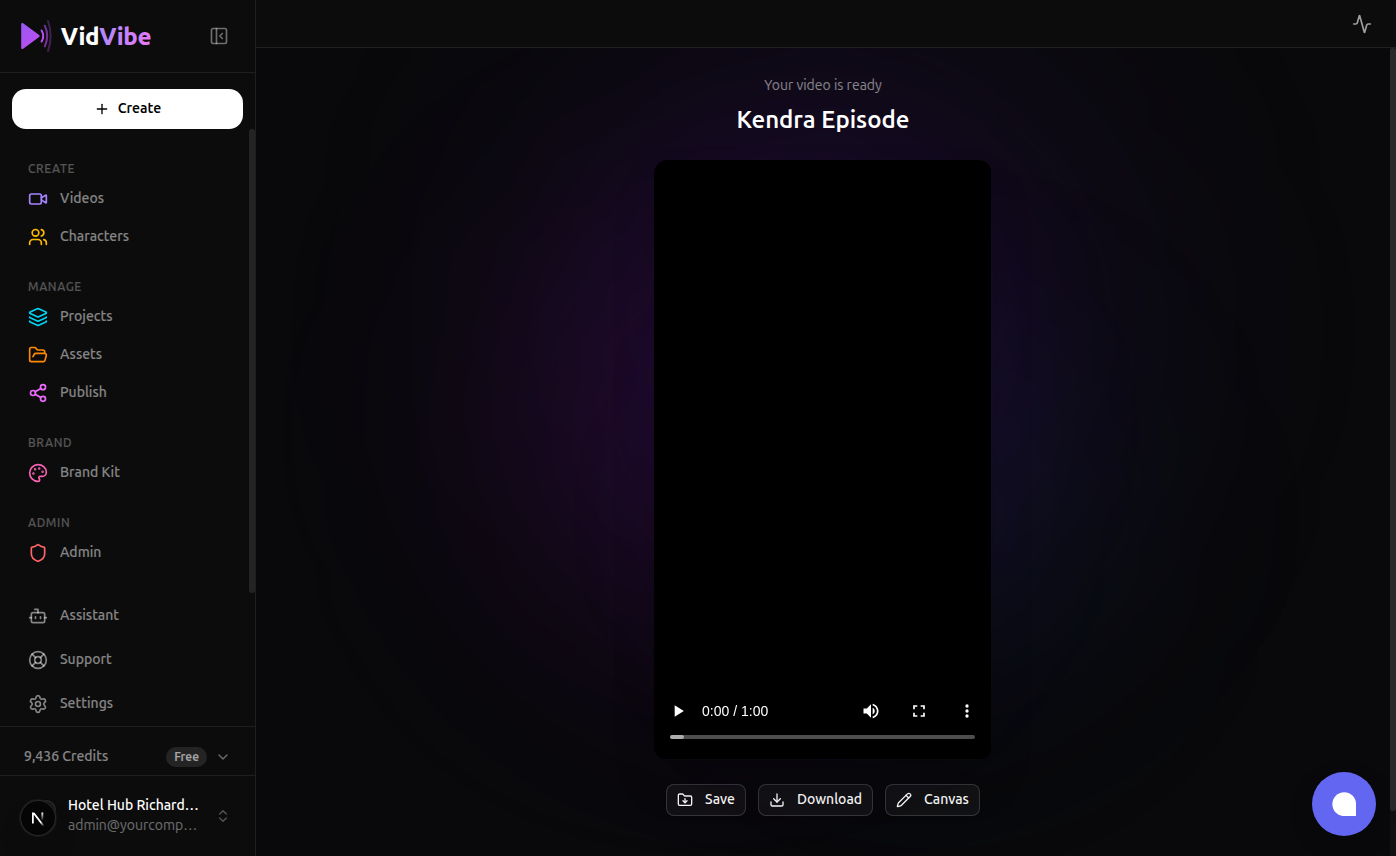
Clicking a row opens the review page for that run. What you see depends on its status:
- running / pending — progress bar + name of the currently-executing node.
- awaiting approval (Step-by-step) — the paused node's output with Approve, AI Edit, Manual Edit.
- completed — final result with Save, Download, Canvas buttons. For video-generate / image-generate flows the result is also auto-minted into My Videos / My Images on completion, so you don't need to click Save manually.
- error — error message + a way back.
Things worth knowing
- The list updates live via websocket; a 15-second backup poll catches misses.
- Deleting a flow does not delete its runs or any saved output videos.
- A run stuck on awaiting approval sits there indefinitely until you open and approve / cancel.